
Have you tried to get a print or better yet even a large poster framed lately? The cost of custom framing or even purchasing a large poster-sized picture frame has drastically gone up in cost. I love a picture gallery just as much as the next girl but getting large-sized picture frames is so unaffordable until now.
As I have learned how to be handier with power tools, I realize it cost so much less to make things yourself. I purchased a bundle of lath wood from my local Home Depot for only $17. The lath bundles are sold in a pack of 15 and are 8 feet in length. I use them all the time for various DIY projects and they are suitable for building frames.

Supplies
To build a picture frame for a large engineer sized print will need the following supplies from your local hardware store:
- 2×4 plywood sheet
- 1 bundle of lath wood
- table saw or circular saw
- nail gun
- brad nails
- wood glue
- wood putty
- spray adhesive
- stain (if needed)
- tape measure
- square
- pencil or pen
Learn How to Build a Large Picture Frame for Cheap
Decide what size you would like your frame and purchase 2×4 to that size. As a tip its more cost-effective to purchase a sheet of plywood and have the hardware store cut it down to the size you need. I was able to make 4 frames from one sheet of plywood but you can purchase pre-cut pieces if you like.
Once you have the size of plywood you need, apply the print to the plywood sheet using spray adhesive. Let the spray adhesive dry based on the recommended drying time and then begin assembling your lath wood strips. I highly recommend painting or staining your lath strips at this point if you decide that’s the look you are going for. You will need to allow your strips to dry before moving on to the next step. In the meantime, decide if you would like the corners cut at a 45-degree angle or not. I chose to assemble mine without a 45-degree angle and I did not paint or stain mine. I have been loving the look of light-colored natural wood these days.
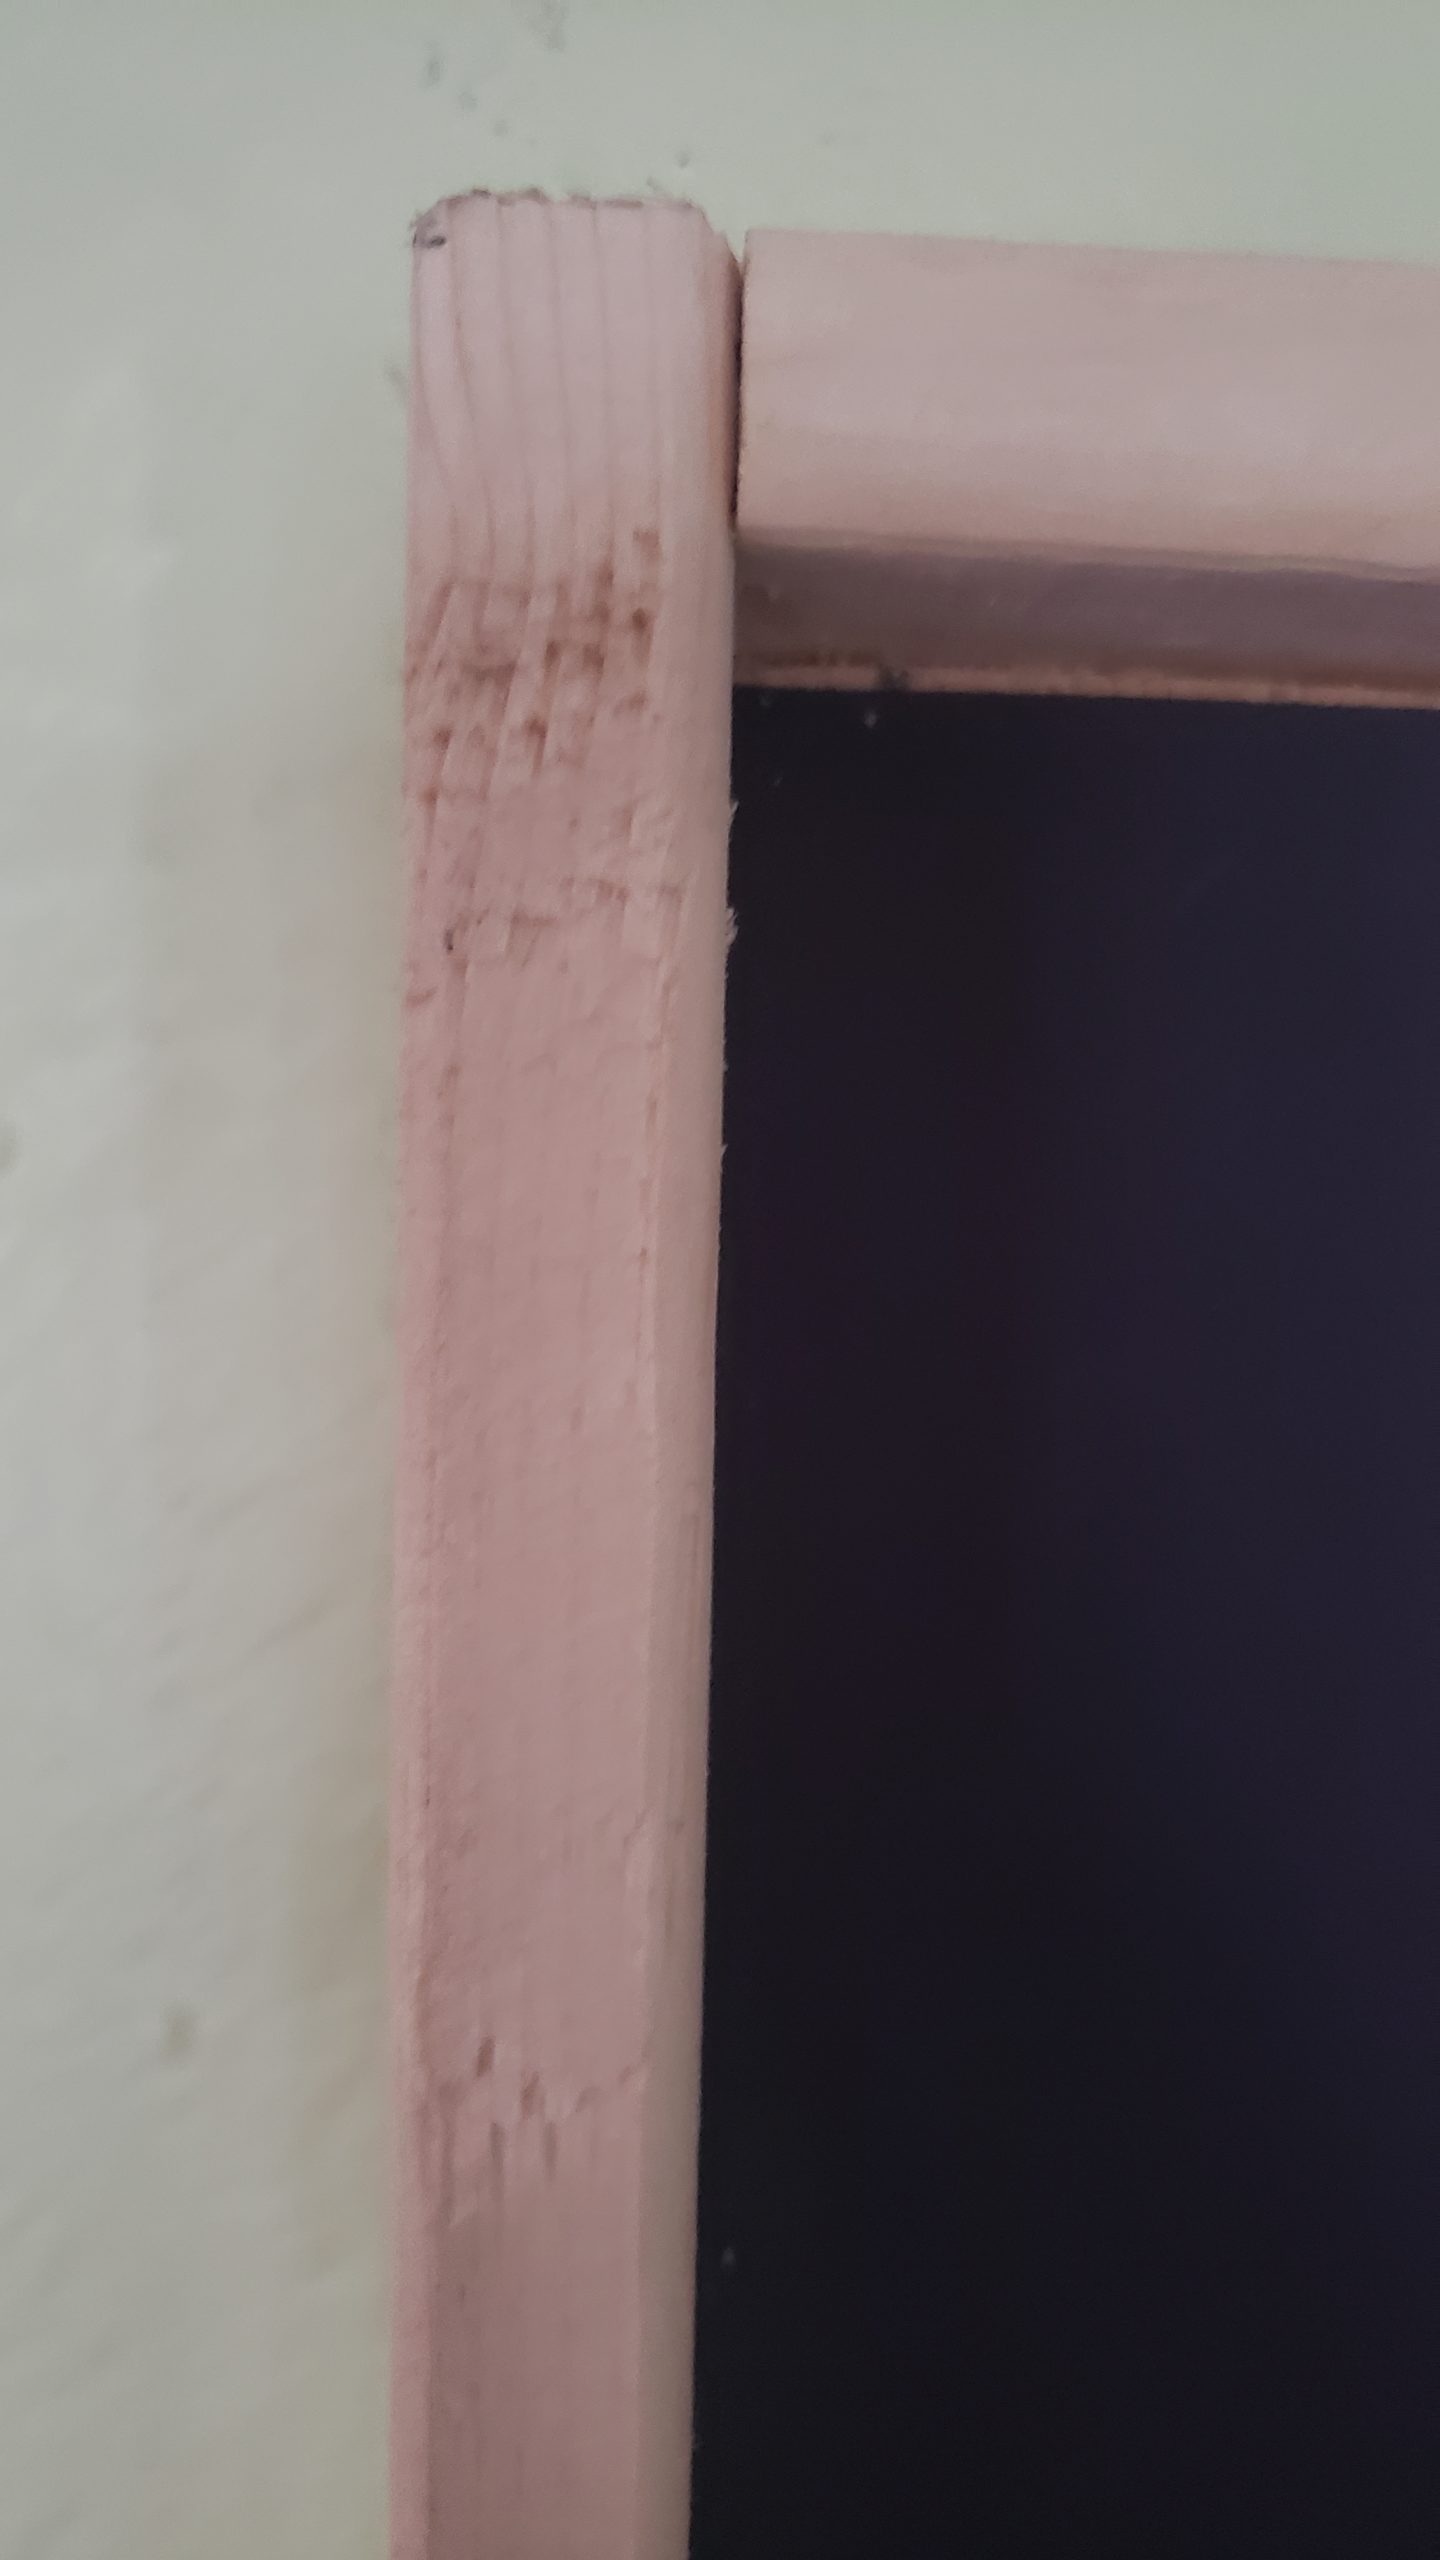 Using your pen or pencil make a mark on your lath strip the length of your plywood sheet. Using a table or circular saw, cut the lath strip to size. Repeat for all 4 sides you need. Next, use your nail gun and brad nails to begin assembling the lath strips to the 2×4 plywood sheet. I generally space the nails about every 5 inches and I also apply a thin layer of wood glue for added support.
Once all sides are fastened using the nail gun, apply wood putty on the corners if you choose to paint. Touch up paint once dry.
And that’s it. I made 4 prints using one sheet of plywood for $28 and 1 pack of lath strips for $17. Total cost $45. Divide $45 by 4 equals $11.25 per frame.
What a steal right? A 24×48 picture frame would easily run $40 and up purchased at retail. Even the ones with the cheap plastic frame and plexi plastic glass would still cost you around $32 bucks each. So take it from me, make it your self.

You actually make it seem so easy with your presentation but I find this matter to be
really something that I think I would never understand.
It seems too complex and very broad for me. I’m looking forward for your next post, I will try to
get the hang of it!
I do not even know the way I finished up here, but I
thought this submit was once good. I don’t realize who you might be however
definitely you are going to a well-known blogger
when you aren’t already. Cheers!